Showing posts with label craft. Show all posts

Monday, June 26, 2023

Pictorial Tuesday Linkup 6 27 2023

Photoplay fun scribbling and random items


Playing with the features photo programs. The Out of Bounds above is made with Adobe Photoshop.
The Kaleidoscope is made using Paint Shop from the photo of the hens and chickens photo. The programs make it easy to have fun with the photos you have taken.


Razzy in a costume one year at Halloween


From my Rose bush, which sadly I no longer have. I just am not good with flower gardens. :(

Some craftiness ~ things I make.
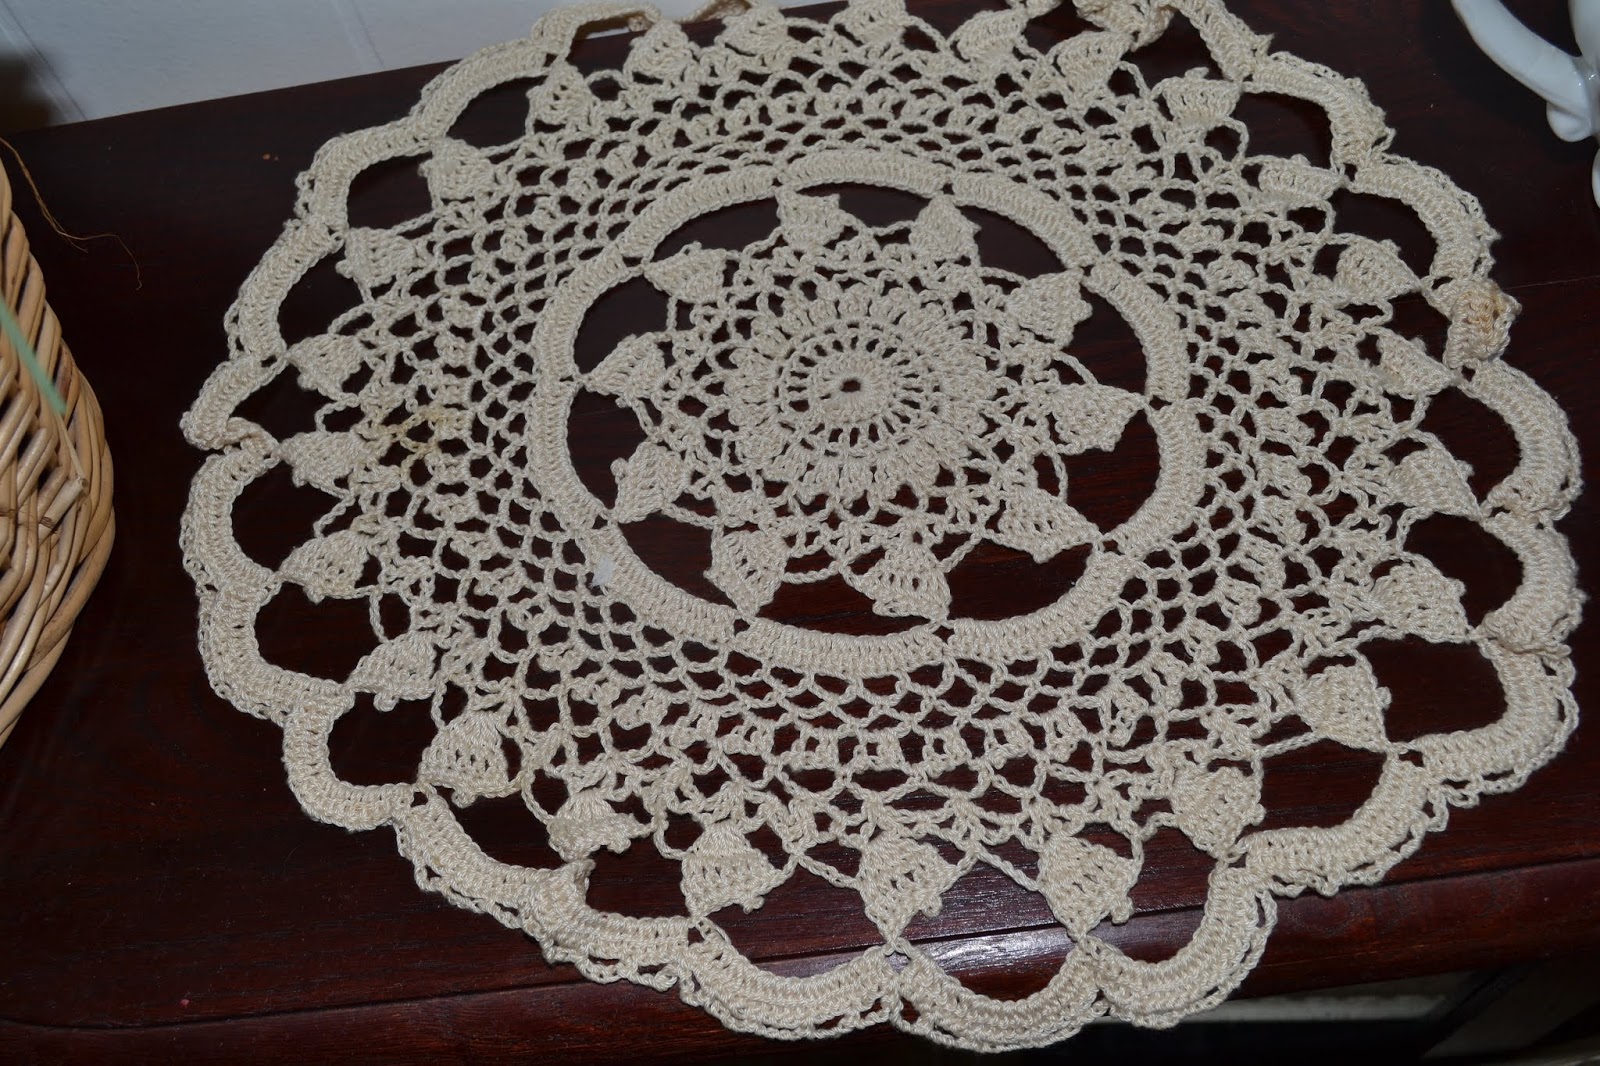


Cotton Crochet Wash Cloths
  
Toddler Crochet Sweater Set

PURSES AND BAGS


Photo Pillow

Sewing and crafting keep me busy with something to do. Some I've sold when my Etsy shop was active, some I sell on eBay, or to anyone who has an interest.  

What keeps you busy?

Well, this weekend starts July and of course celebrations of July 4th. I will be away so there won't be a Pictorial Tuesday next Tuesday, July 4th. I'm excited to be with my kids for the celebrations, and really looking forward to it as I do need a getaway for a while. If you're celebrating have a great time. 

Thanks always for all the bits of your life you share with me through photography, crafting or thrifting. I always look forward to visiting your posts.

Link up is open.

You are invited to the Inlinkz link party!

Click here to enter


~hugs giggles 'n scribbles~

Peabea


Some link ups I visit:

Tuesday, December 7, 2021

Pictorial Tuesday Link Up 12 7 2021


Snow is coming so I'll be cuddled up with my furbaby, Razzy, a cup of hot chocolate and some Christmas movies. The plus of retirement, I no longer have to go out on a blustery morning and battle the snow to get to work. There were some days that I thought I wouldn't make it. Acutally, one year in the 1970's, we had a blizzard type weather, and I lost my car because they closed the roads, and everyone had to just leave their cars. We did get a ride with emergency help. Anyway, they opened up after the storm was over to any tow truck company that could get out to get them off the highway. Took me a few days to find out who towed my car so I could go retrieve it. No fun, so yeah, I like just staying off the road whenever it snows now. This time, the snow isn't to hang around too long.

At Christmas, I usually make a craft or two. Below is the current pillows that I made out of one fat quater. I found the cute buffalo check for very reasonable, and with the (c)Cricut added the wording. 


This is new for Razzy. He now thinks he likes to perch on the back of the couch. Maybe he can see better out the window?? 


What's happening for you as you prepare for Christmas season. With grown kids and their families, we won't be celebrating until after the New Year because of thir schedules. 

Have a happy week. Thanks for visiting. I enjoy each and everyone who visits me and shares or just says hello or just stops by. :)

You are invited to the Inlinkz link party!

Click here to enter

~hugs 'n scribbles~

Peabea


Friday, December 30, 2016

Angel Craft


For those who love crafts...these were so simple and easy to make. Made these probably going on approx. 20 plus years ago and they're still hanging in there.

Materials needed:

1 Styrofoam Ball for head
1 Styrofoam Cone for body
Gauze for gown cut into a strip the length to cover her completely
2 White Chenille Stem for Halo and arms
Ribbon
Rubber Band
Piece of wax paper to stand the angel on while glued gown is drying

  • Glue the Styrofoam ball to the tip of the cone
  • Stick piece of chenille into each side of the cone, glue, and bend to form arms and twist at front as if hands together.
  • Cut a strip of gauze long enough to cover the complete angel front to back including the head cone.
  • Soak the strip of gauze you will be using for the gown in white glue soaking it pretty good. I used regular glue and it dries clear.
  • While wet, drape it over the angel covering the complete angel from front to back over the head.
  • Use a rubber band around the neck area to form the gauze to the neck area.
  • Tie Ribbon around the waist area to form as a belt
  • Form her gown how you like with some flowing on the floor.
  • Let dry thoroughly.
  • Cut some gauze wings (I don't still have the template, but you can find some around the web or just form your own wings).
  • Glue the wings to the back of the angel
  • Form a halo and glue to top of the head by sticking a bit glued into the ball so it stands above the head

I made two. The size of the Angel will be based on the size of the cone you buy.

Enjoy!!

~hugs 'n giggles 'n scribbles~

Peabea